At Home Whisky Blending Made Easy - Supplies and Steps
My love for Single Malt Scotch ignited in the summer of 2019. I went to an amusement park and found they had a Single Malt tasting. It featured Highland Park 12, Talisker Storm, and a third that now escapes me, but I think it was a Glenmorangie, Glenlivet, or something similar. The Highland Park 12 was my favorite and showed me how fantastic whisky can be. That taste changed the course of my life. Since then, I've devoted much of my life (and wallet) to exploring the whisky world. It's culminated in becoming a Master of Scotch, a member of the Council of Whiskey Masters, and a contributing writer to World Whisky & More magazine.
The initial enthusiasm for single malts may lead some enthusiasts to turn their noses up at blends. I know I did. Many consumers see blends as a shortcut or somehow inferior by default. However, after maturing and achieving Master's status, I've learned how much skill, effort, and creativity it takes to create great blends. It's also enjoyable to do at home.
And thanks to this newfound respect, I've begun creating my own personal blends. As I find recipes that turn out great, I'll publish them for my paid subscribers so they can recreate them at home. And don't worry, I'll keep the ingredients to whiskies that are generally available.
But to create these recipes at home, you'll need some tools. This article will give you a simple outline of how to blend and what tools you'll need. It's easier than you think.
Blending Philosophy
You'll create a distinct feel for what you like and what you don't like as you continue to explore home blends. However, there are several philosophies you might try to figure out what works for you.
Blends should begin with a goal in mind. At first, figuring out what you want can be challenging, but ideas will eventually start jumping into your head. Try to know what you're going for. Do you want a peat monster? Maybe you'd like to highlight the qualities of a sherry-aged expression? Do you have a specific flavor profile or theme in mind? Have fun and engage your creativity. The blending process involves experimentation, so not every recipe will work out. But that's part of the fun. It's a journey, not a destination.
Richard Paterson, the Master Blender behind the Dalmore and White & Mackay, describes blends as a party. You have to know which guests to invite and what strengths they bring to the table. Do you want one intense whisky as the "entertainment" of the evening? Maybe that is something you only add sparingly so it doesn't overpower. Try to find whisky styles that complement each other and highlight each other's strengths. The goal is to make the whole better than the sum of its parts. This party will have catering staff, guests of honor, and beloved family. Plan accordingly.
How to Blend Whisky
You're going to need some tools. You'll need a way to measure precisely what you're putting into the blend.
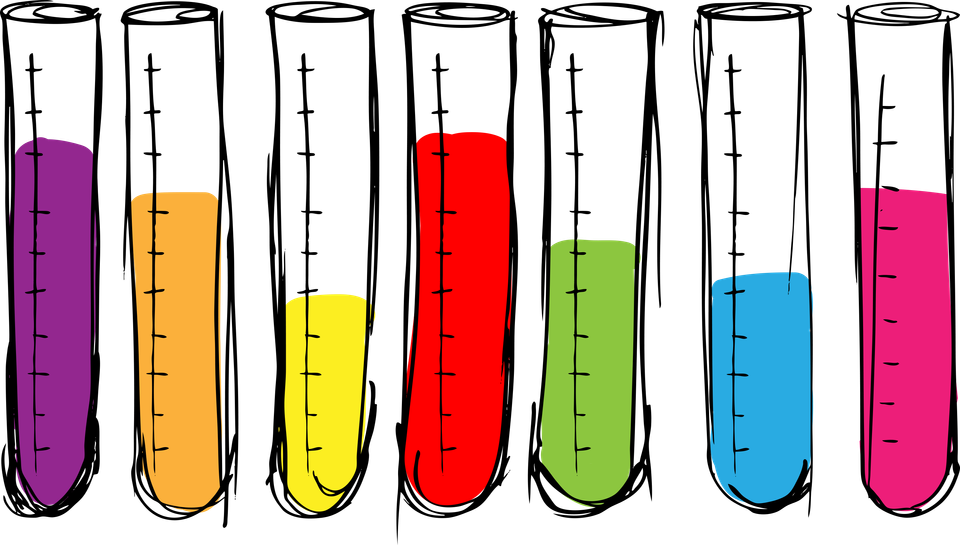
First, you'll need graduated cylinders. I bought some nice ones from Amazon. Ensure they're Borosilicate glass, not plastic, and go for high quality. Quality tools make for quality products. I have 10ml, 25ml, 50ml, 100ml, and 250ml cylinders. And funnels will make your life much easier.
Next, you'll need a place to put them. Again, Amazon saved the day for me. I was able to find some nice 375ml bottles with synthetic corks. These are perfect for preserving a blend and allowing it to marry after you've created it.
Here's the process:
- Write down your recipe. Keep track of everything you put in and what percentage of the blend each whisky provides. I use a spreadsheet to keep track of my recipes.
- The 100ml graduated cylinder is your workstation. This makes percentages easy to calculate. If you put 25ml into the cylinder, that's 25% of the blend. Fill the cylinder up to 100ml, paying attention to what you used. Using the smaller cylinders will help keep measurements accurate.
- Let the whisky sit in the cylinder for a half-hour to an hour. Pour some into a glass, nose it, and taste it. Does it seem like it's coming together? Any off-putting notes?
- If the blend seems to be going in the right direction, pour the whisky into a bottle and label it. Repeat the process as many times as you want to, depending on how full you want your bottle to be.
- Allow the blend time to marry. Flavor compounds will continue to interact, and the flavors will change. If you come back to a blend several times over the course of weeks or months, and it's still good with similar notes each time, you've found yourself a potential winner.
- Sometimes, the whisky doesn't turn out as well as you wanted, and that's okay. For example, sometimes the nose will be fantastic, but the palate is flat. Certain combinations of whiskies, or sometimes too many in a blend, will cause it to collapse, eliminating the flavor completely. There is no way to save it; you'll have to start over.
- Learn from mistakes and share the good ones with friends for feedback. Continue to tweak even the good blends, and you'll find an excellent one.
What If I Don't Feel Like It
While at-home blending is fun, it's a lot of work. I don't expect everyone to have the ability or the desire to dive into home blending. But if you don't want to do the experimentation and legwork to find good blends, fear not. I'm continuing to experiment and will continue to share successful recipes here. Join my paid subscriber membership to receive my best recipes delivered to your inbox, each with the exact whisky and percentage.
Happy blending. Let's discover something great together.

